Thursday, October 28, 2010

Butterscotch Pudding>Heaven on a spoon


I can not think of one thing that brings back those special memories of childhood and my Granddaddy like flavor of butterscotch. Like all good Granddads he always had those individually wrapped discs of hard candy in his vest pocket for sharing with me. Sweet and buttery with the slightest hint of caramel it quickly became a favorite flavor.
Like all kids young and old a favorite desert was and still is pudding, rich silky smooth custardy goodness that feels like velvet on your tongue. Its cool creaminess when combined with the flavor of butterscotch is pure heaven on a spoon. Enjoy!


Prep time: 10 min                                  Cook time: 50 - 60 min


Ingredients:

3 egg yokes
2tbl unsalted butter
1/4 tsp  Kosher salt
1 1/2 cups heavy cream
1/2 cup  milk  (2% or whole)
1 1/2 cups brown sugar
2 tsp molasses
1 tsp vanilla extract


Tools: 4 ramekins, 9X13" baking dish, whisk


Directions:

Place the ramekins in the 13 X 9 baking dish and and place it on the center rack of your oven. Fill the dish until the water comes 2/3 the way up the side of the ramekins Remove the ramekins from the baking dish. Close the oven and preheat to 325 º F.

Set a 2 quart sauce pan on a med lo burner add the butter. Once it has melted add the brown sugar, molasses and salt. Allow the brown sugar to melt whisk in the heavy cream and the milk to combine. Heat this mixture until small bubbles appear at the edge of the pan. Remove from the heat.

In a med sized mixing bowl whisk the egg yokes and the vanilla. Slowly in a thin stream introduce the hot milk/sugar mixture whisking constantly to keep the eggs moving so they do not cook. continue to whisk in the rest of the dairy
.
Ladle into the ramekins and place them into the water bath. Bake for 50 - 60 min until it is just set at the edge and jiggly in the center. Remove the ramekins from the water bath  and place on a cooling rack for 1 hour cover with kling wrap and transfer to the refrigerator chill 3 hrs.
Serve with a dollop of whip cream and or gingersnap cookies.

Saturday, October 23, 2010

Chili> Texas Red


As the cool weather approaches I get a craving for on of my favorite comfort foods, Chili. Some times known as a bowl  Red. True Texas chili has no beans. This has sparked many a debate with more fire than some bowls if have had. Hey if you like beans in your chili go for it, as for me I'm a traditionalist and I will take the beans on the side.
A good Bowl of Red is thick, deep,spicy and silky in texture. It will warm the soul like wearing a quilt on the inside, packed with bold flavors it is like a fiesta in your mouth. Some recipes call for top round diced into less than 1/2 " cubes and some use ground beef. Like beans it is a personal choice or what ever I have on hand at the time. The real magic is in the spices, blended to give the chili its character. Now I am not speaking of that container in the back of the cabinet that says Chili Powder that is as tame as a kitten.What I am making reference to is blending your own to get the taste just right. Spices, freshly ground really bring it to this fiesta, allowing you to adjust the heat to your level of tolerance. I am a chili head and I like it a little spicy so you many want to exercise a little caution with this recipe and cut the peppers back to 1/2 the amount for a milder batch. Enjoy!


Prep time: 10 min                 Cook time: 31/2 hrs.

Ingredients:

1 lb ground sirloin
1 small spanish onion grated fine
3 cloves garlic pressed
1 tsp cumin seed
1 tbl paprika
1 tsp red pepper flakes or 1 chili arbol crushed with seeds
1/2 tsp chipotle chili powder
1 tbl ancho chili powder
2 tbl cumin powder
1 tsp kosher salt
1 15oz can tomato puree
1 tbl *masa harina
2 cups of water

*Masa harina is corn flour used to make tortilla, if you do not have it pulverize 6 tortilla chips

Directions:

 Place a heavy bottom pot over a medium heat and add 1 tbl of oil warm the pan until the oil gets a shimmer to it.
Add the ground sirloin, or what ever meat you are using into the pan and break it up with the back of a spoon. Add 1/2 of your spices and the onion, tomato puree and 2 cups of water stir bring to a low boil and reduce to a simmer. Cover the pan continue to cook at a simmer stirring occasionally. Add water as needed.
At the 3 hour mark add the rest of the spices and the masa stir and simmer another 30 min.
Serve with queso fresco and black bean Quesadillas. 

Tuesday, October 19, 2010

Doughnut Muffins


I'll admit it I have a doughnut problem. What can be better than fried dough, slightly sweet with a hint of nutmeg dusted in cinnamon and sugar, parked along side a steaming fresh cup of coffee? Some may say a muffin of some sort or maybe you are in the middle somewhere between the hole and the paper. Regardless of your stance on one thing we can all agree, they are both pretty tasty.
As much as I like doughnuts I would rather let some one else do all the frying I don't like all the cleanup involved and during my last check up the Dr. gave me the long face over my cholesterol. So looking for ways to get it under control and still satisfy my cravings I went in search of a recipe that would solve the problem. That is when I discovered Doughnut Muffins.  The resulting recipe is a collimation of ideas from several recipes along with some personal imitative to reduce the calories and the bad fats but retain all the good taste and texture. Enjoy!

Prep time:  10- 12 min                          Bake time: 15 min                  Yield: 1 dz 


Ingredients:

1/4 cup butter flavor vegetable oil
1/2 cup splenda
2 tbl + 2 tsp splenda brown sugar subistute
1 egg + 2 egg whites
1 1/4 tsp nutmeg
1 tsp vanilla
3/4 cup water
2 2/3 cup Universal Baking mix

Topping
3 tbl melted unsalted butter
2 tbl sugar + 1 tsp cinnamon combined


Tools: Muffin tin, paper liners, pastry brush


Directions:

Preheat  your oven to 425º F, put the paper liners in the muffin tin and set aside.
In the bowl of your mixer combine, light & dark splenda, eggs, oil and vanilla. beat on med speed for 2 min

Slow the mixer to the slowest speed and add 1/3 of the baking mix and 1/3 of the water mix 1 min then repeat until all of the baking mix and water are in. Beat on med for 3 min.
Spoon the batter into the liners filling 3/4 full, bake on the center rack 15  min. remove from oven and allow to cool in the pan 10 min then remove to a cooling rack and allow to cool to room temp
.
Brush the top of each muffin with melted butter and dust the tops generously with the cinnamon sugar, or inject with your favorite jam for jelly doughnut muffins.

Sunday, October 17, 2010

Loaded Ranch Potato Salad

Potato Salad, just the mention of the word creates the memories of church socials, 4th of July picnics and back yard Bar-be-ques. I have sampled dozens of varieties of this famous side, a select few where memorable and while some where ho hum I'm still a big fan. This is one of my favorites and is really a twist on  a Fully Loaded Baked Potato. It is at home whether next to a Hamburger, a cold Deli Roast Beef Sandwich, or Smoky Texas BBQ Brisket.
Creamy and light from a ranch style dressing that doesn't get in the way of the flavors of the main element of the meal. It allows you to have that fully loaded baked potato and enjoy the potato salad too. Enjoy!    

Prep time: 15 min                         Cook time: 20 Min + *2 hrs in refrigerator
*for flavors to develop


Ingredients:

3 lbs Yukon gold Potatoes
1 quart chicken stock
1 quart water

dressing:
3/4 cup Light mayo
3/4 cup/sour cream
1/4 cup milk
2 cloves garlic (finely grated)
1/2 tsp Kosher salt
1/4 tsp  black pepper
1/3 cup shredded cheddar cheese
2 tbl *Bacos bacon bits
1/2 tsp celery seed
1 stalk celery 1/4" dice
* Bacos lend a smokier flavor than bacon


Tools:  2 larger bowls, colander, 2 lbs of ice,wire whisk


Directions:

In a large mixing bowl combine the sour cream, milk, mayonnaise, grated garlic,salt and pepper,and celery seed whisk together. Place in the refrigerator.
Peel and cut the potatoes into 1/2" dice place in 4 quart sauce pan cover with the chicken stock and water bring to a low boil over med hi heat. Cook for 7- 10 min. test for tenderness at the 7 min mark( if a tooth pick will slid into the potato with little effort they are done). Drain in the colander and then plunge the colander into an ice bath to stop the cooking and cool down.
Remove from the ice bath and allow to drain well. Remove the dressing from the refrigerator add the potatoes to the dressing along with the cheese, celery and bacon bits mix well cover with cling wrap and return to the refrigerator for two hours to over night to allow flavors to blend. Garnish with Chives before serving.
 

Saturday, October 16, 2010

Basic Italian Red Sauce> The Universal Italian Condiment

If you appreciate a nice plate of pasta then a rich, flavorful, zesty, thick sauce is what really makes the pasta stand out. I cringe when ever I go down that isle at the market with all those jars. So many choices some heavy with salt some are sweet and none are fantastic. Read the labels some time and you will probably lose your desire for that plate of pasta.  A great sauce should be big on flavor and have only a hand full of ingredients. After all the tomato is the real star and you should use the best ones you can  afford.
Imported San Marzano plum tomatoes are king and in my little part of the world also go for a kings ransom just under $5.00 for a 28 oz can. That is completely out of my budget so I went in search of and econimical replacement. The closest I could find in flavor and acidity are petite diced and are advertised by a chef who crashes your kitchen to cook with them.
Making a good sauce is not difficult, If you can turn on the cook top and use a can opener your half way home. Enjoy!


  Prep time: 5 min.         Cook time: 1 hr         Yield: about 2 quarts
         

Ingredients:

2 28 oz cans of tomatoes ( chopped or whole)
2 6 oz cans tomato paste
1/4 tsp red chili flakes
1/3 cup (aprox.) good Italian olive oil
1 med onion (grated extra fine)
3-4 about 1 tbl spoon cloves of garlic (grated fine)
*1/2 tsp dried basil
*1/2 tsp oregano
1/2 cup red wine
salt to taste.
2 packets sweet and low sweetener
*Sub 1 tsp Italian seasoning


Tools: Heavy bottom stock pot, wooden spoon, box grater, blender

Directions:

Start by placing the stock pot on the lowest heat add enough olive oil to cover the bottom of the pot + a little extra; You are going to infuse the oil with flavor that will carry through the sauce.
Add the chili flakes and the herbs to the warm oil allow to heat for 10 min.to release their flavors and infuse the oil.
Add the tomato paste repeating the same process until the oil changes  from a green -gold to a red tint
the longer you cook the tomato paste the more tomato flavor will be concentrated into the oil. The tomato paste will begin to caramelize intensifying the natural sweetness, so let your "inner chef " tell you when it has been long enough.
Push the tomato paste to one side of the pan the grated onion and garlic into the oil to sweat their goodness into the infusion until they become translucent this should take about 5- 10 min depending on how hot tour oil is. once the y are translucent mix them with the tomato paste.
A quick note on seasoning, I season as I go after each addition with a final adjustment at the end. You are in control so add what tastes good to you I always try to imagine the food in the pot as it where my plate and season accordingly as if I where adding it at the table.
.Open your tomatoes and add one can to the blender and process in 2-4 quick pulses, pour this into the pot and mix with the tomato paste/olive oil infusion. If you prefer you pasta sauce a little chunky for a more rustic feel reserve about 1/3 - 1/2 cup of the tomatoes from the second can and process the remainder as before. If you desire a smooth sauce process the entire second can and add to the simmering pot along with the red wine ( if you do not have red wine substitute; 1 1/2 tbl red wine vinegar and a pinch of sugar or use grape juice and 1 tsp red wine vinegar) turn up the heat until it starts to bubble then back it down to the lowest setting place the lid on cocked off to allow steam to escape and reduce the sauce. Cook for about 30 min, again let your "inner chef " be your guide if you like it thicker cook it a little longer. Give it a taste and check the seasoning adjust it to your liking, if it is a little bitter you may need to add a little Sweet and Low to bring down the acid level. It really depends upon the tomatoes. I find S&L to work better than sugar to keep the flavor savory. Ladle the hot sauce into clean jars and store in the refrigerator up to 4 weeks it also freezes well for up to 6 months. 

Tuesday, October 12, 2010

Tex-Mex Paella>Where's the Seafood?

Tex-Mex is a fusion of Mexican Cuisine meets Gringo ingredients, came into being in southern TX from San Antonio south to the Rio Grande. Though it has migrated north and can be found in most any city in  the U.S. it is truly as Texan as Long Horn Cattle of Shiner Bach Beer.
This recipe for Tex-Mex Paella has no seafood and from where it came I haven't a clue. I found it in a notebook that my mom kept with recipes that where her standbys. I ate this dish growing up and I enjoy it now as much as I ever did. 
Mild not spicy but full of flavor with many textures, it is like a Fiesta in your mouth. Enjoy!
Prep time: 30 min                                   Cook time: 45 min

Ingredients:

1 lb round sirloin
1 egg
1cup bread crumbs
2 tbl chili powder
1 tsp Kosher salt
1/2 tsp black pepper
2 tsp cumin (divided)
1/4 cup cold water
1 cup long grain rice
1 chili poblano (roasted)
1 cup tomato large dice 
1 medium onion( sliced thin)
2 cups chicken stock
4 tosadas
2 cups re-fried beans
1 cup cheddar or Colby Jack cheese (grated)

Tools: mixing bowl,sheet pan, aluminum foil, heavy bottom skillet with lid.

Directions:

Pre heat your oven to 350 deg F and prepare a sheet pan by lining it with aluminum foil.
In the mixing bowl combine the ground sirloin  and bread crumbs mix to combine, add the chili powder, salt, pepper 1/2 of the cumin and the egg and water and mix with your hands. 
Form meat balls about the size of a golf ball (an ice cream scooper work really well here) and place on a sheet pan. I normally get about 1 dz. Bake at 350 for 12 min.
While the meatballs are baking put the skillet on over med hi heat add the chicken stock, tomato, chili poblano and onion bring to a simmer cover and reduce heat to maintain a slow simmer 20 min until the vegetables are softened.
After the meat balls have baked 12 min. turn off the heat and leave them in the oven.
Once the vegetables have softened add the rice and the meatballs to the skillet cover and simmer about 20 min. until rice is cooked.
While the rice is cooking spread the tostadas with the re-fried beans and put on serving plate.
Once the rice is cooked remove from the heat spoon the rice onto the tostadas and then the meat balls. Top with the cheese and place under the broiler in your oven to melt the cheese. Remove from the broiler and garnish with crema and cilantro.

Saturday, October 9, 2010

Cherry Chipotle BBQ Ribs > Pork-a-licious Pigcickels


When most folks hear the word BBQ or Bar-Ba- Que; how ever you spell it, ribs are probably what comes to mind first. Slow smoked for hours rubbed with a blend spices, sweet and succulent these pork ribs take it to the next level with an extra layer of flavor from a glazing rub.
Whether Baby Backs or Spares they are all good. My personal preference is for Spare ribs trimmed to a ST. Louis cut. Spare ribs have more delicious pork and cost about 1/3 less per pound on average and give you a little extra meat for other uses after trimming, like a treat for the PitMaster or added to a pot of beans.
These ribs are best cooked  low and slow on a smoker with indirect heat, however for those who for what ever reason don't have access to this equipment you can still enjoy these Pork-a-licious Pigcickels. You probably did not notice the BBQ pit that is in your kitchen, "SHhhh!!" "Don't tell anyone!" "They call it....... an oven." 
Preparing these in the house requires 1 additional ingredient so stay tuned I will cover that  in a little while.
First lets define what a properly cooked done to perfection Rib is: Cooked through when bitten, the meat should pull cleanly from the bone yielding at with a little tug. If they are falling off the bone they are over cooked!
How to tell when the ribs are done: The meat will have pulled back exposing the bone, when picked up with a set of tongs the rack should bend almost 90 deg if  it bends to about 60 deg you need to cook them about another hour. Remember you can't rush perfection their done when their done.
Never BOIL ribs!!! They get mushy.
I hope you come to love these as much as I do they are truly one of best things I ever ate. Enjoy!

Prep time: 45 min                                        Cook time: 5- 6 hrs.

Tools: Tea spoon, "really" sharp knife, small mixing bowl, cutting board, wax paper, measuring spoons. sheet pans, spray bottle(NEW), paper towels, BBQ grill, Smoker, or oven.


Ingredients:

1 Rack of Pork ribs
Worcestershire sauce
**Liquid Smoke**

(pork rub)
1 4oz bottle paprika
2 oz sugaur
2 tsp lemon pepper
1/2 tsp cayenne pepper
1 tsp mustard powder

(Cherry Chipotle glazing rub)
1 package sugarfree Cherry Jello
1/4 tsp salt
1/4 - 1/2 tsp chiolte pepper
1 tbl brown sugar
1 tsp Basil


Directions:

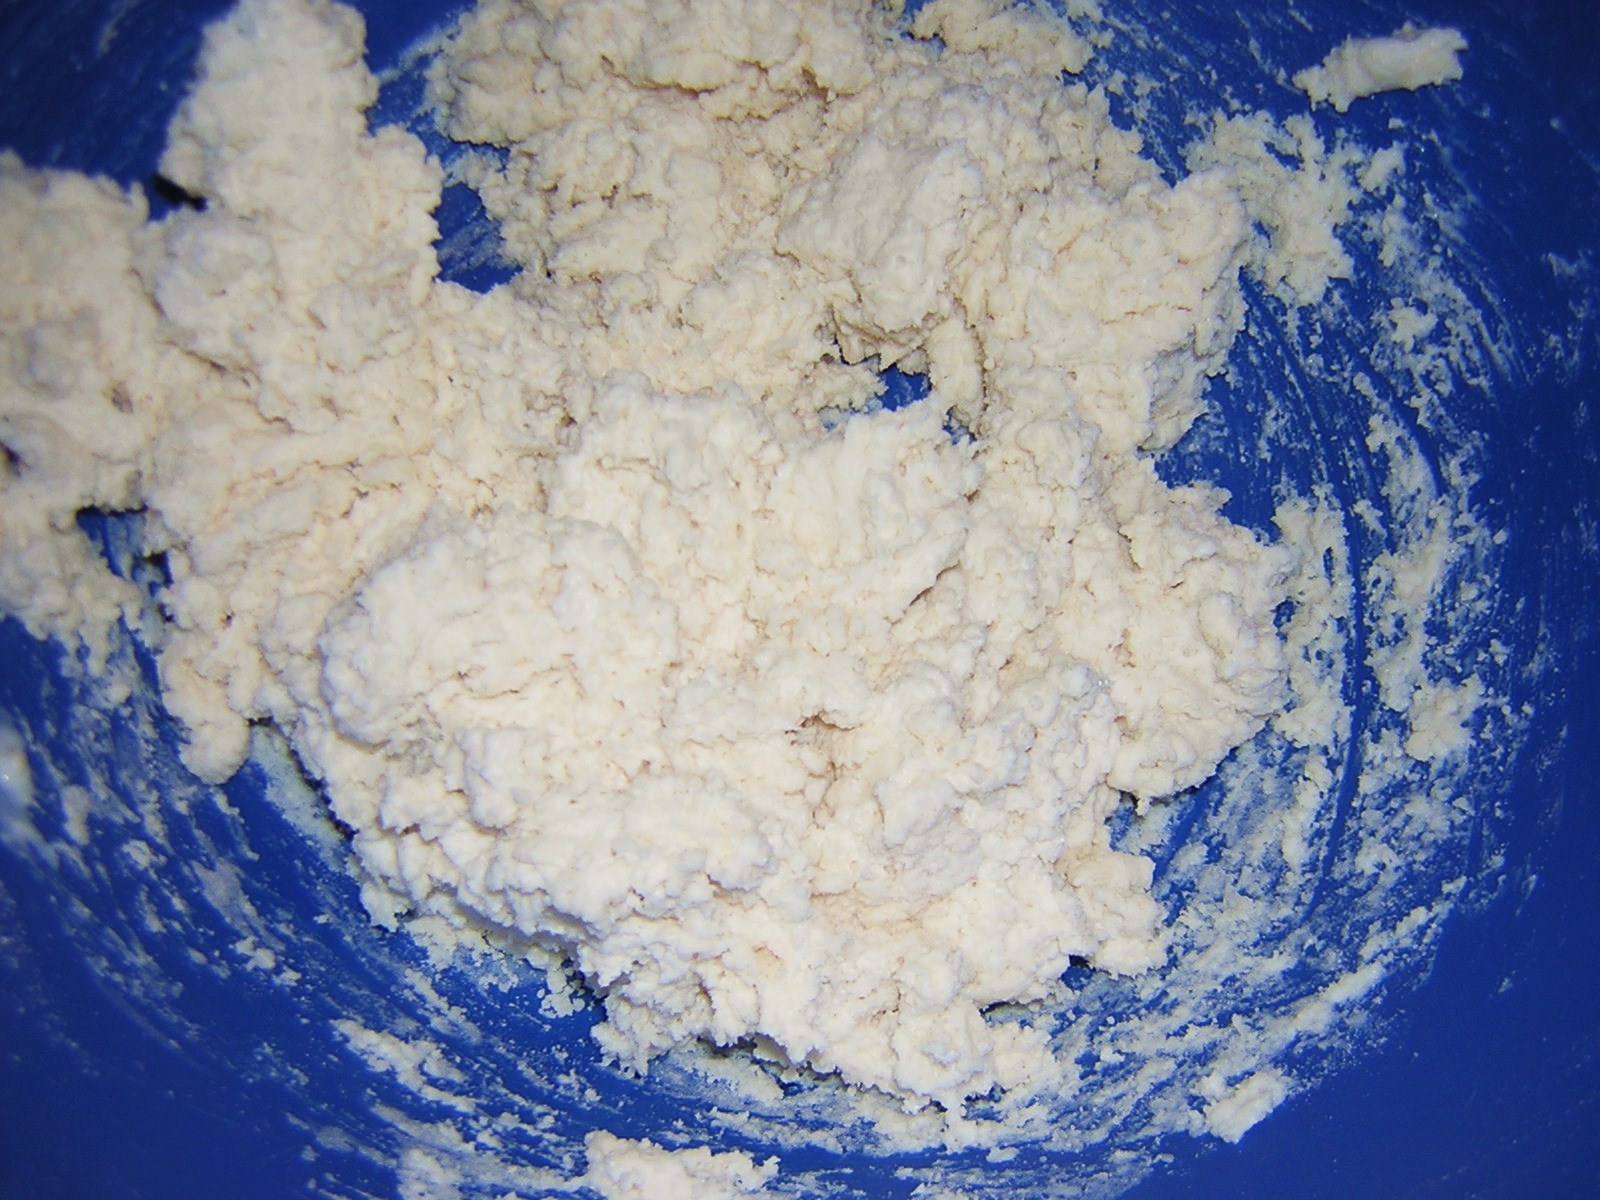
In a small bow combine the ingredients for your rubs and mix well. Transfer each one to a zip bag or an old spice bottle with a shaker top. Set these aside.
Remove the ribs from their packaging and rinse under cold water. Pat dry with paper towels and discard them. Place the ribs on your cutting board bones down.

*[This section applies to spare ribs only, if cooking Baby Backs skip down]
When you are looking at the rack you will notice there is what is referred to as the tail follow it along the outside edge to the bottom of the rack find the first long rib bone and cut the tail off close to the long bone and set aside.
The rack should be square on the ends with the breast bone still attached.
Feel along the a rib bones length until you feel the end of the bone, holding a finger on that spot lay the blade of your knife along this line across the bottom of the rib bones slice through the cartilage that connects the the breast bone to the ribs and remove the breast bone and the belly section, set this aside your rack should be a rectangular shape. [this rack already had the breast bone removed at the packing house it would have been in the lower left corner of this rack]
 Now turn the rack over, bones up. There will be a flap of meat attached to the back of the rack ( reminds me of a piece of skirt steak) that must be removed. Lay your knife on the rack at the point of this piece and slide it along the rack removing this piece and set it aside.


Next you will remove the membrane ( if left on it is like chewing a rubber band). Insert the end of a teaspoon s handle between the membrane and a bone working slowly and carefully loosen the membrane until you can grasp it between your thumb and fingers. Pull using steady pressure use a paper towel it will give you a better grip.


Congratulations, you have just created a St.Louis cut rack of pork spare ribs. I knew you could do it.
*Ok, finally we can get these ready to cook. Flip the rack bones down.
First a little sprinkle of Worcestershire sauce ** if you are roasting these in the oven use the liquid smoke instead** and rub it in to distribute evenly across the surface.
Apply the Pork Rub very generously in a heavy even coat.


Even though it is called a rub do not rub it in. Allow it to adsorb the Worcestershire or liquid smoke while you go build the fire in your pit and get it up to temp or preheat the oven to 225º F.
If you are cooking these in your oven place them on a sheet pan and on the center rack of your oven. Set your timer for 4 hours. If they will be cooked in a BBQ pit 4 hrs at 225º F. For all you Gas grill folks indirect 225º F 4 hrs.
After 4 hrs of  unmolested cooking check for to see how far they will bend, if they go about 60deg you are ready to apply the Glazing rub. Apply in an even coat totally covering the ribs. Spray with water so they look shinny and moist and back in the Smoke 1 more hour. Check again in an hour with another bend test. If they bend close to 90deg they are done if not spray them again and check in 30 min.

Friday, October 8, 2010

Buttermilk Bisciuts>Put Some South in Your Mouth


 A staple on any table in the South and welcome at any meal the simple buttermilk biscuit fresh from the oven soft & tender, lighter than a feather,slathered with butter or your favorite jam, is indeed a wonderful thing. It shines at breakfast smothered in sausage gravy or in a portable version, split and filled with bacon, sausage or ham. As a simple desert with a little Cane syrup or Molasses, Strawberry Short Cake, or topping a Fruit Cobbler, the simple buttermilk biscuit stands tall.
Biscuits are as easy to prepare as they are to mess up. They turn out dry or heavy they don't rise or they burn on the bottom. These little set backs can be fixed with some TLC. You must treat the biscuit dough gently, carefully measure the ingredients. Over handling once the  buttermilk is added will result in a tough & heavy biscuit, to much shortening will result in a dry and crumbly biscuit that will more than likely burn on  the bottom. Old Baking Powder will prevent them from rising(when you open a new can date it) if it has been opened over 6 months consider replacing it. If in doubt it can be tested: put 1/2 tsp vinegar in a cup of water while holding it over the sink, sprinkle 1/2 tsp baking powder in the cup, if it foams up it is still good.
Some folks swear by self rising flower and die hards consider it cheating I will cover both and you and make your own decision the biscuits are identical so what ever works for you is fine. Enjoy!

Prep time: 15 min                                          Baking time: 10 - 12 min.               Makes: about 1 1/2 dz

Ingredients:

(Self Rising Flour)
2 /12 cups flour + extra for dusting
1/2 + 2 tsp shortening
2 tbl sugar
1/2 tsp baking soda
3/4 cup Butter milk
*if using All Purpose flour
*3 tsp baking powder
*1 tsp Salt


Tools: Large mixing bowl, measuring cups & spoons, fork, rolling pin, biscuit cutter, baking sheet

Directions:
 
Measure the flour into the mixing bowl, add the sugar, 1/2 tsp of  baking soda (*if using A/P flour and the salt and baking powder) using the fork thoroughly mix these ingredients together.
Place the shortening in the bowl and blend together ( I find my fingers to be the best tool for this job) when no pieces of shortening are visible and the flour has the look and feel of damp sand  it is mixed.


                                          Form a well in the center of the bowl


                                          Pour the Buttermilk into the center.
  

Using the fork pull the flour into the center in a *folding motion (* pull to the center and turn the flour under) moving around the circumference of the bowl. As soon as you see there is no more dry stuff. "STOP MIXING!!" The dough will be soft moist and sticky and maybe a little lumpy looking.             


Put a good dusting of flour on your work surface and turn the dough out onto it. using well floured hands pull the dough together into a ball and *knead three times(* press down on the ball with the heal of your hand pressing into a disk, fold the edges to the center to form a ball, repeat). Use just enough flour to prevent sticking."Less is more." 

After the 3 rd cycle pat(roll) the dough out into a 3/4" disk.( I have a Rolling pin  but never use it if you want to use one feel free. I prefer the hands on approach.)


   Fold the the disk into 1/3 rds and turn seam side down press out to 3/4" thick, do this 3 times.


Pat or roll out into a 3/4" disk and square up the sides. Using a biscuit cutter that has been coated with flour, (I don't own a biscuit cutter I use an old can about 2" in diameter) cut out your biscuits pressing straight down, do not twist the cutter. Twisting will seal the outer edges and prevent the biscuits from rising as high as they can.


Place the biscuits on the sheet pan with the edges touching it helps them to rise higher when the bake. Cover with a towel and allow to rest while the oven is preheating.

         Preheat your oven to 425 º F. and bake on the center rack for 10 -12 min.

Wednesday, October 6, 2010

Chicken and Green Chile Enchiladas

Whether Mexican, South western, or Tex Mex, the flavor of "Green Chilies" rule. To say that it is one of my favorites is a pure understatement. Spicy and sweet but not over powering, they play well with all sorts of ingredients or can take the lead as the main ingredient. With enchiladas being one of the great comfort foods of the world this is a good place to showcase this Chili, it really punches up the flavor and elevates the chicken in this version.
I grew up eating enchiladas mostly beef or cheese at least once a week. It was not until I was in High School that I had this version. It was on a trip to San Antonio with  my then girlfriends family that I first had Green Chili Chicken Enchiladas served with a little crema  I was sold, I had a new favorite. When I came home  mom was put on a quest for the recipe. Where she got it from I haven't a clue. All I can say is I have enjoyed these at home and  in Mexico and could not tell any difference in flavor or texture.
One of the nice things about Enchiladas is that any lightly seasoned meat can be used. In this case left over roast chicken would be a prime candidate or a rotisserie chicken picked up in the deli section. Enchiladas are one of those meals that look so complex to prepare but are ultra simple. Enjoy!    


Ingredients:

1 lb chicken cooked, torn into pieces
1 medium onion, fine dice
1 6 oz can green chilies
2 cups low sodium chicken stock, divided
1/2 cup  low or no fat sour cream
1 tsp cumin seed or 1/2 tsp ground cumin
1/2 tsp Mexican oregano crushed up or 1 tsp European oregano
3 tbl Cilantro fine dice
2 cloves garlic fine dice
1 tsp Kosher salt
1 1/2 cups Colby Jack cheese divided
8 corn tortillas ( home made are best)
1/2 cup oil
1 tbl Masa Harina ( corn flour)
1/3 cup + 2 tbl *Salsa Verde (Green chili sauce)
*San Marcos brand or Pace recommended


Tools: 10" heavy bottom skillet, 8 " skillet, 1 qrt sauce pan, 9X11" baking dish


Directions:

Place the heavy bottom skillet  over medium heat,when you can feel the heat starting to radiate off the bottom add the cumin seed and toast them for a min or two. add about 1tbl of the oil to the pan and continue to warm.
Add the onion and salt and cook until they begin to become translucent add 1/2 the chilies and all the garlic cook about 2 min. more.
Add the oregano, cilantro and chicken and 1/2 of the chicken stock.
Bring to a simmer after about 10 min  break up the chicken and continue to reduce the liquid until there is none left but the meat is moist. remove from heat and allow to cool. In the mean time, prepare  the baking dish by spreading  the 1/3 cup Salsa Verde on the bottom of the  baking dish. and prepare the Green Chile gravy:
In the 1 qrt sauce pan whisk together 1 cup chicken stock, sour cream, reserved chilies, 2 tbl Chile Verde and *Masa Harina . Bring to a boil for 1 min and remove from heat whisk 1 min.
Heat the oil in the 8 in Skillet to about 150 deg.
                                                      set up an assembly line


Start assembly by putting the 1/3 cup salsa verde into the  bottom of the baking dish spread evenly.
Take a tortilla and place it in the hot oil to warm for about 10- 15 sec. allow to drain over the skillet and trans fer it to the baking dish.

Place a tablespoon of the chicken filling in the center of the tortilla  and spread evenly
top with some of the shredded Colby Jack then fold the side closest to you over the center and roll the tortilla over onto itself placing the seam on the bottom. Repeat the process for the remaining ingredients.

 Preheat your oven to 350 º F  pour the Green Chile gravy over the top and then cover with the Colby Jack.
Cover with aluminum foil and bake for 20 min increase the oven temp to 400º F remove the foil and brown the cheese a little on top.
 Allow to cool 10 min prior to serving. Serve with Spanish rice, re-fried beans.

Tuesday, October 5, 2010

Italian Meatballs


When most  folks think of Italian food more often than not Spaghetti and Meat balls is what comes to mind. The star of the show is the meat ball. The perfect meat ball should be full flavor tender and yielding in texture, and still be able to stand up to extended periods of a slow simmer in a tomato sauce. This recipe comes from an aunt who married into an Italian family, Her mother in law was from a town outside of Rome and was a professional cook. She made sure that her son was properly fed by holding private cooking classes for her new daughter-in-law. I thank them both for this recipe, they have long ago gone on to the Big Kitchen in the Great Beyond. So I guess that would allow this to qualify for an Heirloom Recipe. Enjoy!

Prep time: 15 min                                Cook time: 1 hr.                     Sevres: 8


Ingredients:

1 lb.Ground Sirloin
1/2 LB Ground Pork
3 lrg. Eggs
2 Slices of Bread(crust trimmed off and cubed)
1/3 cup Milk
1/4 cup Chopped Flat Leaf Parsley (3 tbs dried)
1/3 cup grated Parmesan cheese
1 tsp Kosher salt
1/4 tsp Black pepper
2 tsp Granulated Garlic
1 tsp onion powder
1tsp Dried Basil
1 tsp Dried Oregano
1/2 cup breadcrumbs
*Note: I find that the use of dried herbs and garlic an onion blend flavors better than fresh in this recipe.

Tools: Mixing bowl, Measuring cups & Spoons, Med Ice cream scoop, Baking sheet, cooking spray. Aluminum foil.


Directions:

In a large mixing bowl place the cubed bread and 1/3 cup of milk allow to stand 5 min for the bread to adsorb the  milk
                        
Add the rest of the ingredients(except for the bread crumbs)  and mix well. If egg whites are still visible add some of the bread crumbs. The mix should be wet and a little tacky but not sticky. The best tool s for this job are a pair of very clean hands, mix thoroughly but do not over mix(Don't bruise the chopped meat).


I normally remove a small amount and fry it up so I can check the flavor and make any adjustments to the seasoning. This is the time to check it.
 Line the sheet pans with Aluminum foil (makes cleanup a snap) and give each a spray with the cooking spray.
Preheat your oven to 350 º F  
Using the Ice cream scoop (it keeps the portions equal) dip out a scoop full and form into a ball and place on the baking sheet. I normally get between 16-18
 Bake at 350º F for 20 min.The meat balls will be almost done through. At this point I transfer the amount I need to a pot of basic tomato sauce to finish and add additional flavor to the sauce. After about a 15 min cool down the remainder get place in a freezer bag and frozen for another meal. At which time they can go from freezer to sauce to thaw and finish cooking.  

Saturday, October 2, 2010

CREMA > Mexican Sourcream, Muy Bueno

Mexican and Tex -Mex Foods are a real favorite of mine. To really appreciate these foods using the the best and most authentic ingredients available is key. However depending where you live some ingredients may be difficult to obtain or a little pricey. One of those ingredients that should never be substituted is Crema. This thin buttery silky smooth sour cream is very different than the stuff in the plastic tub that says "sour cream". If you have ever tried Crema you know. If you "do the dollop"  from the plastic tub on your tacos, you owe it to yourself try this amazing original condiment. It so easy to make and you won't be paying the $ 4.00 for 12 oz  again.
Perep time: 10 min                                    Cook time: 8 hrs.


Tools: Sterilized Jar, 1 quart sauce pan, measuring cup, Warm place.

Ingredients:
1 pint heavy Whipping cream
1/4 cup butter milk


Directions:

Pour the cream into sauce pan and warm the cream to about 100 deg. F
Transfer the cream to the sterilized jar add the butter milk ad loosely apply the lid. Place the jar into a warm 80- 90 deg F area for 8 hours. I put mine in the oven with the light on.
Refrigerate after 8 hrs. Will keep in the refrigerator 2 weeks.
Great on tacos, enchiladas, re-fried beans, in chili, any where you enjoy sour cream.